

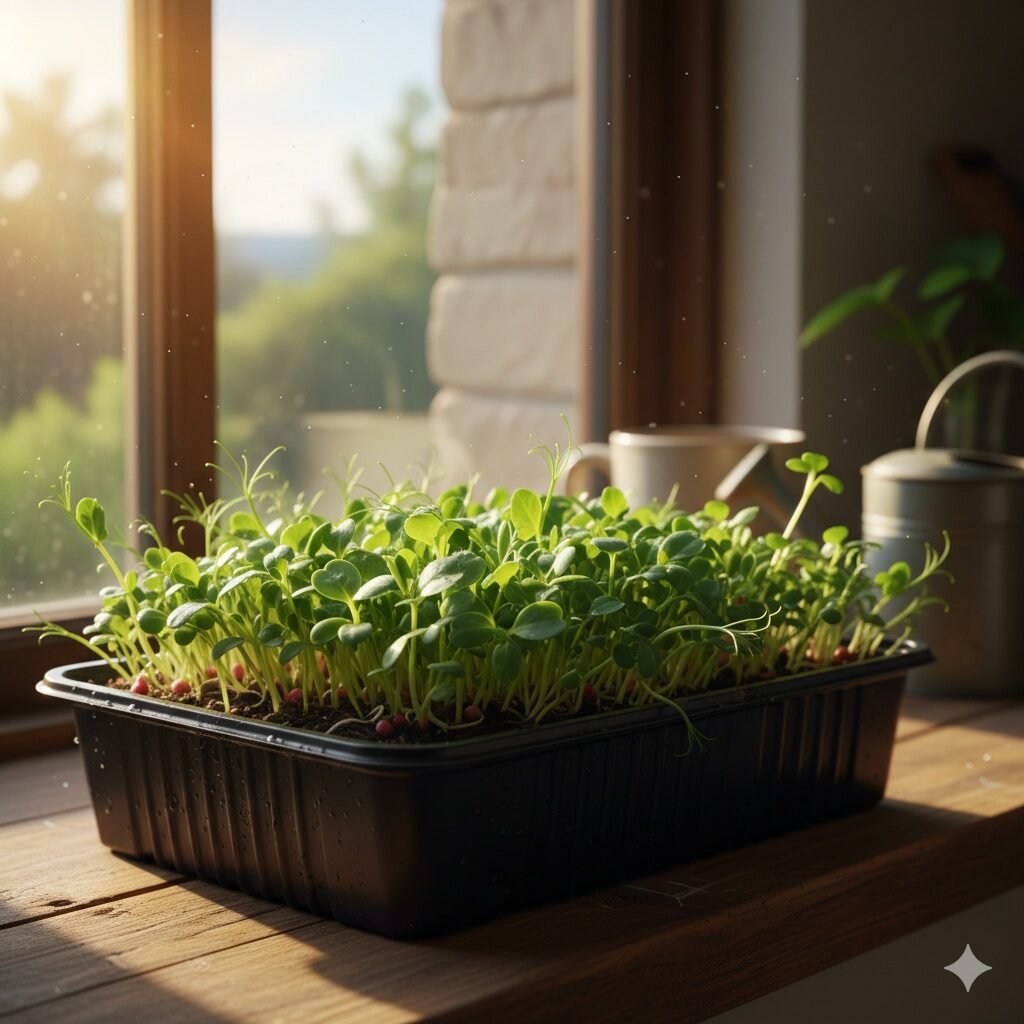
How to Grow Micro-Greens & Sprouts at Home: If you’ve ever wished for a tiny indoor garden that gives you fresh, crisp greens in just a week or two, this might be your sign. Growing microgreens and sprouts at home is, well, one of the easiest and most rewarding little projects you can start. And the best part? You don’t even need a garden. A sunny windowsill, a jar, and a bit of patience are enough to grow something fresh and full of life.
Actually, this trend has picked up a lot lately. From health-conscious foodies to urban apartment dwellers, more and more people are turning to microgreens and sprouts as a quick way to add nutrition and flavor to their meals. They look pretty too — bright green, tiny leaves that can completely lift your dishes (and your mood).
What Are Microgreens & Sprouts?
So, first, let’s clear up what these two things are — since they sound a bit alike but grow a little differently.
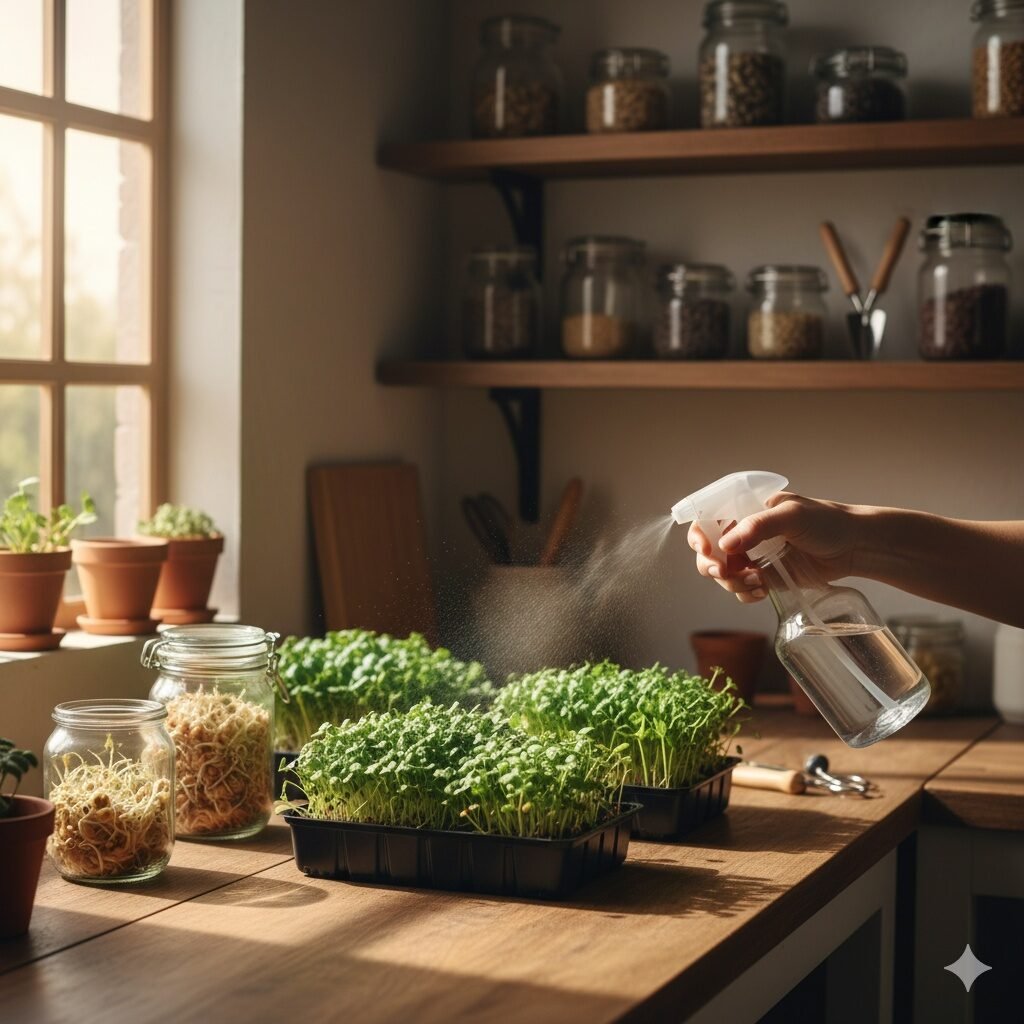
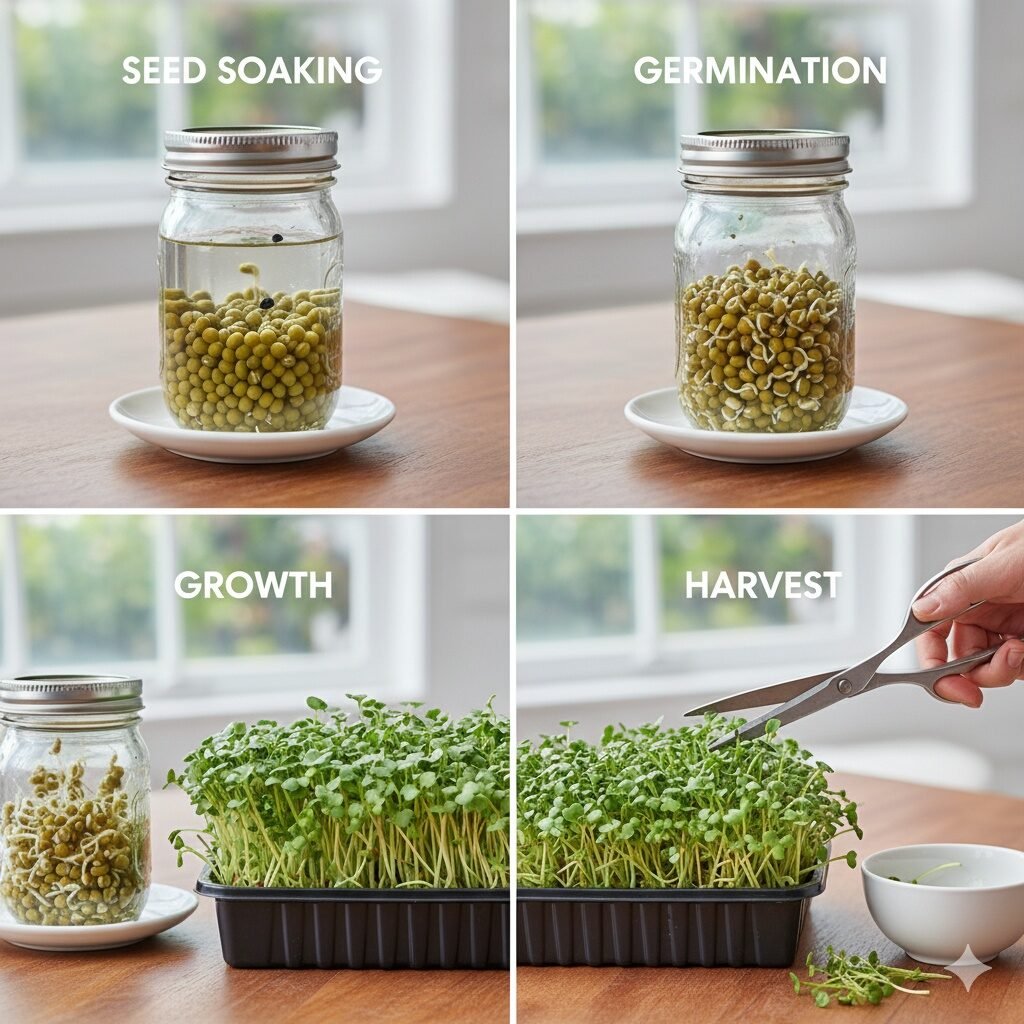
- Microgreens are young seedlings of edible plants. You grow them in shallow trays or containers, usually with soil or a growing mat, and harvest them when the first set of true leaves appear — around 7–14 days.
- Sprouts, on the other hand, are grown without soil. Seeds germinate inside jars or sprouting containers with just water and air. They’re ready in about 3–5 days and are eaten root and all.
| Type | Growing Medium | Time to Harvest | Light Needed | Eaten Part | Examples |
|---|---|---|---|---|---|
| Microgreens | Soil or mat | 7–14 days | Yes | Stem + leaves | Broccoli, Radish, Sunflower |
| Sprouts | Water | 3–5 days | No | Entire sprout | Mung bean, Alfalfa, Lentil |
So, basically, sprouts are faster and simpler, but microgreens give you a wider variety of flavors and colors. Many people like to grow both at the same time, so they’ve always got something to harvest.
Benefits of Growing at Home
Let’s be real — fresh produce can get pricey, and it’s not always as “fresh” as it looks on store shelves. Growing microgreens and sprouts at home gives you total control and instant access to crisp, living greens whenever you want.
Here’s why it’s worth trying:
- Nutrient-rich: Microgreens can have up to 40 times more vitamins and antioxidants than mature greens. That’s from a USDA-backed study — pretty impressive for tiny plants.
- Quick harvests: You can go from seed to plate in less than two weeks.
- Minimal space: A windowsill or kitchen counter works just fine.
- Eco-friendly: You reuse containers, avoid packaging waste, and skip the transport footprint.
- Fun & visual: Watching them grow is oddly satisfying, and they make your kitchen look alive.
What You’ll Need
Before we get to the step-by-step parts, here’s your little shopping list. Nothing fancy, just some basic stuff to get started.
For Microgreens
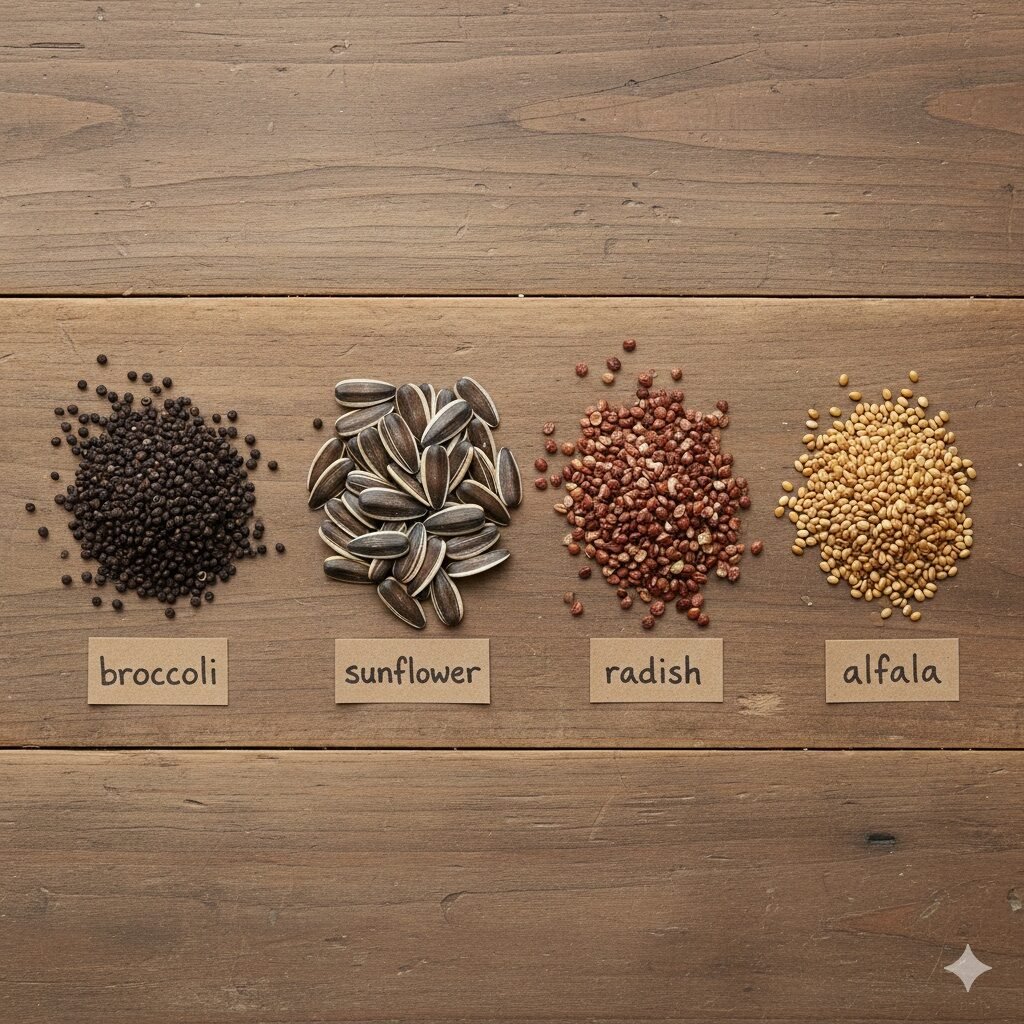
- Seeds – broccoli, radish, kale, sunflower, mustard, or pea shoots are great.
- Shallow tray or container – about 1–2 inches deep.
- Growing medium – soil mix or coco coir pad.
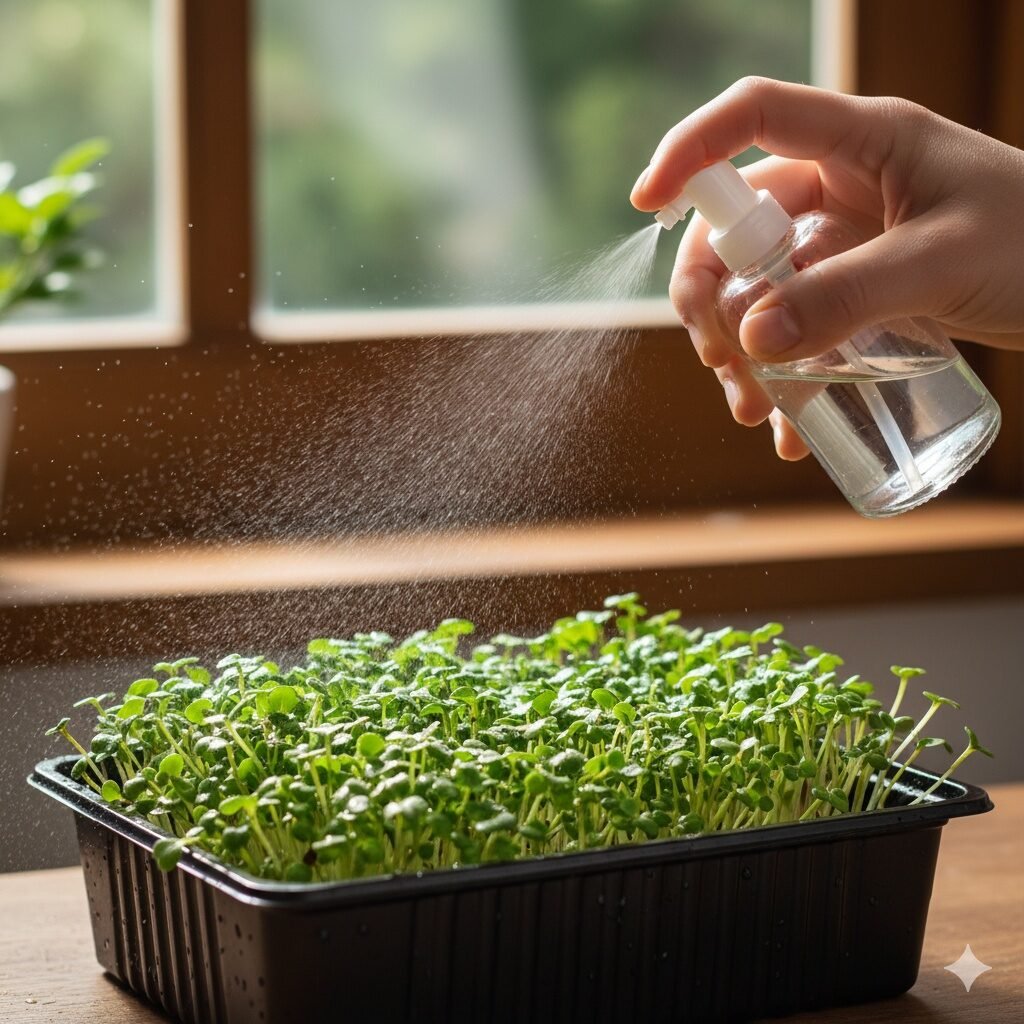
- Spray bottle – for gentle watering.
- Grow light (optional) – handy if your space doesn’t get much sun.
For Sprouts
- Sprouting seeds – mung beans, alfalfa, lentils, chickpeas, or broccoli.
- Glass jar – any size from 500ml to 1L works fine.
- Mesh lid or cheesecloth – for airflow and easy rinsing.
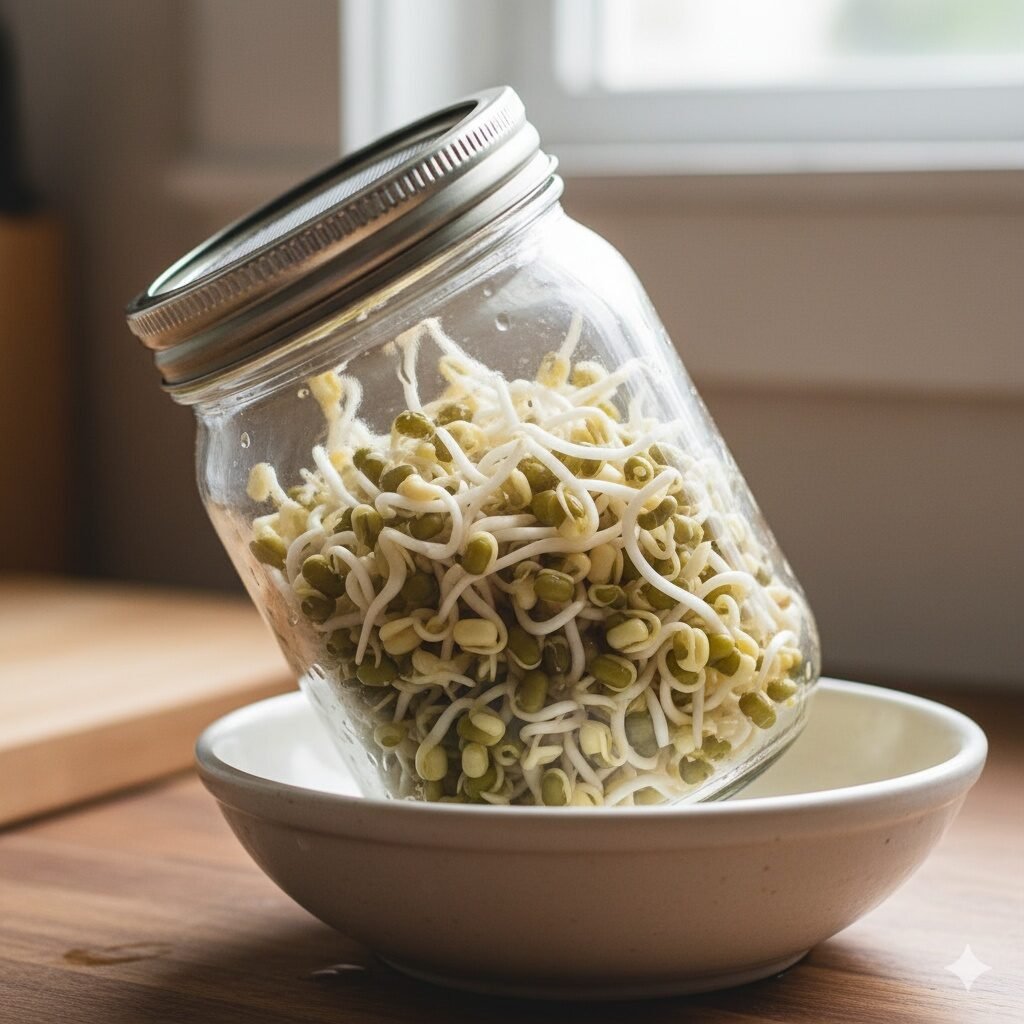
- Bowl or stand – to hold your jar at an angle for drainage.
Step-by-Step: Growing Microgreens
Alright, now the fun part. Here’s exactly how to grow microgreens at home, even if you’ve never planted anything before.
1. Soak the Seeds (Optional)
Some larger seeds like peas and sunflowers benefit from soaking overnight. Smaller ones like broccoli or mustard don’t need it. Soaking just helps them sprout faster.
2. Prepare the Tray
Add about an inch of soil or lay a growing mat evenly in your tray. Mist it lightly with water so it’s damp, not soggy.
3. Spread the Seeds
Scatter the seeds evenly across the surface. Try not to pile them up too much — you want them close, but not overcrowded.
4. Cover & Let Germinate
Cover the tray with another tray or a lid to keep it dark for 2–3 days. This helps the seeds wake up and start sprouting properly.
💡 Tip: Use blackout lids or even a damp paper towel on top for better germination and stronger stems.
5. Light & Watering
Once the shoots start peeking out, remove the cover and place the tray near sunlight or under a grow light. Mist them once or twice daily. Don’t overwater — a gentle spray is enough.
6. Harvest Time
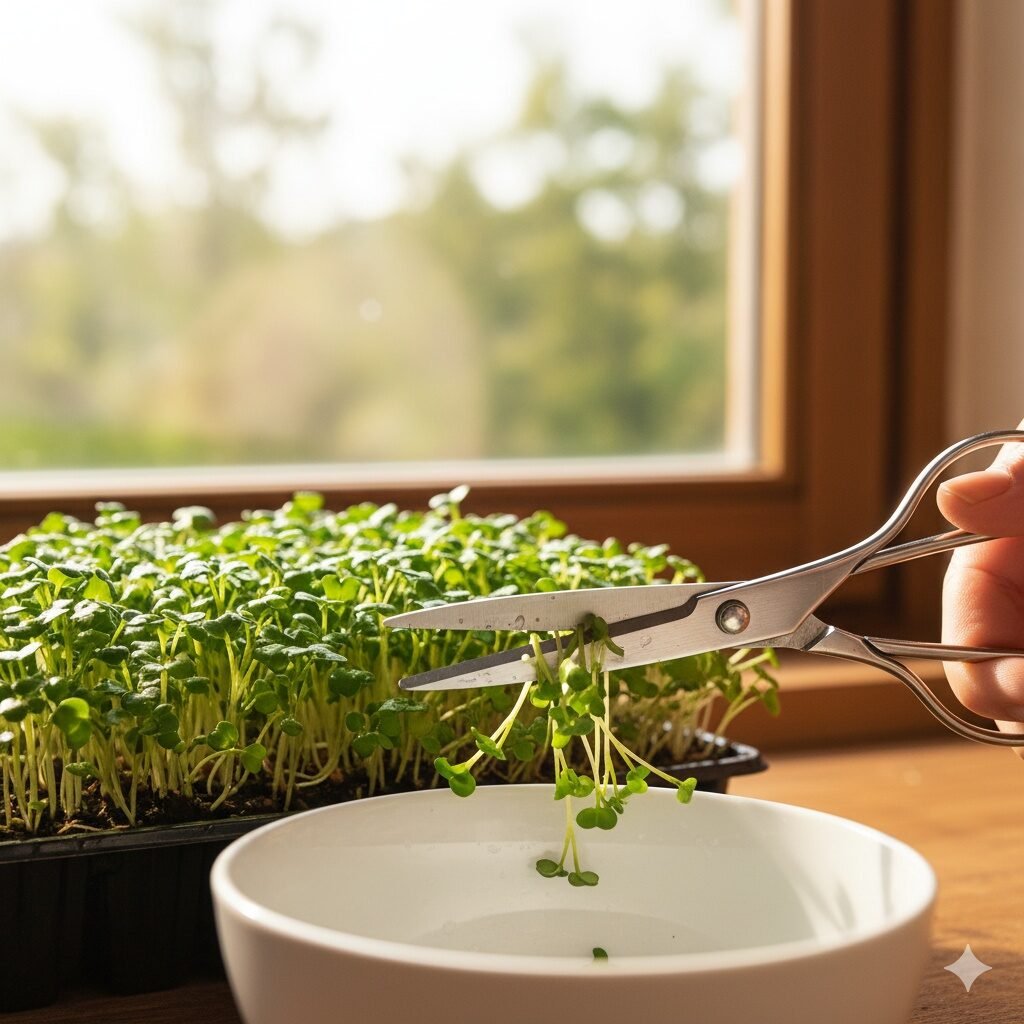
When your microgreens are about 2–3 inches tall and have those tiny leafy tops (usually in 7–14 days), snip them just above the soil line with scissors. Give them a quick rinse and enjoy.
Step-by-Step: Growing Sprouts
Sprouts are even simpler — no soil, no lights, just a jar and a bit of attention. Here’s how to do it.
1. Measure & Rinse
Add 1–2 tablespoons of seeds into a clean jar. Rinse them well with cool water to wash off any dust.
2. Soak Overnight
Fill the jar with water (about 3x the seed volume) and let it sit overnight, around 8–10 hours. This softens the seed coats and gets them ready to germinate.
3. Drain & Tilt
In the morning, pour out the water through your mesh lid or cloth, and tilt the jar upside down at an angle inside a bowl or rack. You want the moisture to drain but still allow airflow.
4. Rinse Twice Daily
Every morning and evening, rinse the seeds with cool water and drain again. Keep the jar in a cool, shaded spot — not direct sunlight.
5. Harvest
After 3–5 days, your sprouts will be long and green-tipped. Give them one final rinse, let them dry a bit, and they’re ready to eat.
⚠️ Hygiene Note: Always rinse sprouts thoroughly and store them in the fridge. Mold or funky smells mean it’s time to compost and start fresh.
Common Problems & Fixes
Even though this process is pretty foolproof, sometimes little issues show up. Here’s what to watch for:
| Problem | Cause | Fix |
|---|---|---|
| Mold or fuzzy growth | Too much moisture, not enough air | Improve airflow, rinse less, use a fan nearby |
| Weak or leggy sprouts | Lack of light | Move closer to window or add a small grow light |
| Bitter taste | Harvested too late | Cut a day earlier next time |
| Seeds not sprouting | Old or treated seeds | Use fresh, untreated sprouting seeds |
Harvesting & Storage Tips
Once your greens are ready, don’t wait too long to enjoy them. Their freshness fades quickly after harvest.
- Snip gently above the soil for microgreens.
- Rinse them in cold water and spin dry.
- Store in an airtight container or paper towel–lined box in the fridge.
- They’ll stay crisp for up to 5 days (sometimes longer if kept dry).
💡 Quick meal ideas:
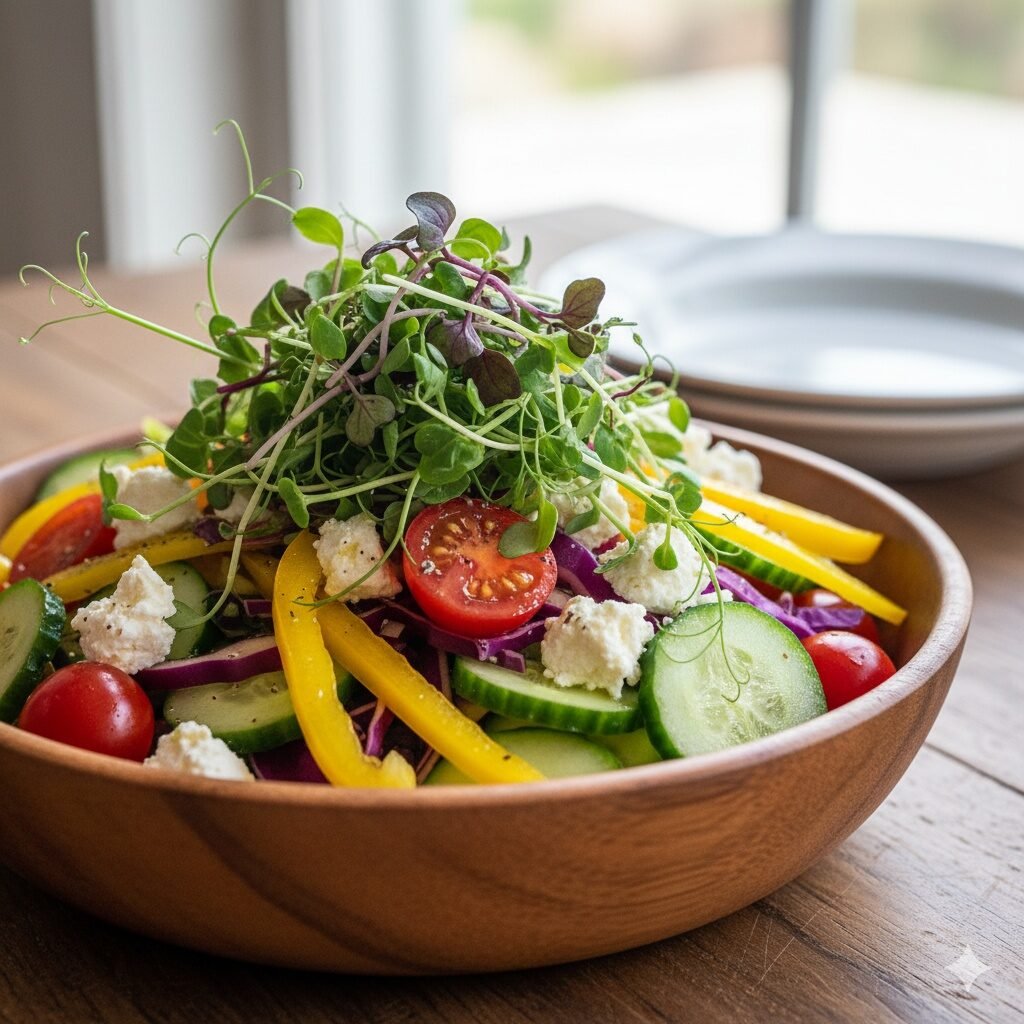
Toss microgreens into salads, layer them in sandwiches or wraps, sprinkle on top of avocado toast, or blend into smoothies. Sprouts go perfectly with soups, stir-fries, or noodle bowls for extra crunch.
Quick FAQ Section
Can I grow them without soil?
Yes! Sprouts need no soil at all. For microgreens, you can use coconut fiber mats or paper towels instead of soil.
How long do they last?
Sprouts: 3–5 days in the fridge.
Microgreens: up to a week if kept dry and cool.
Which seeds are best for beginners?
Try broccoli, sunflower, or radish microgreens — they grow fast and taste mild. For sprouts, mung beans or alfalfa are easiest.
Do I need a grow light?
Not necessarily. A bright windowsill works fine, though grow lights help if you live somewhere with less sunshine.
Are store-bought seeds okay?
Only if they’re labeled as untreated or “sprouting seeds.” Some garden seeds are treated with chemicals — skip those for eating.
Final Thoughts / Try It This Week
Honestly, learning How to Grow Micro-Greens & Sprouts at Home is one of those little life skills that pays off fast. In just a few days, you’ll be harvesting your own living food — no soil mess, no fancy equipment, just simple joy and green freshness.
So, why not give it a go this week? Start with one jar of mung beans or a small tray of broccoli microgreens. You’ll see how easy and rewarding it feels once you’ve got that first mini harvest sitting on your kitchen counter.
If you’re more of a “see it in action” kind of learner, this video from Epic Gardening is a must-watch. Kevin does an awesome job breaking down the whole process — from picking seeds to getting that lush tray of greens ready to harvest. It’s clear, beginner-friendly, and packed with simple tips you can try right away at home.
👉 Watch the full video here: Epic Gardening: Microgreens Masterclass
(Tip: keep a notepad nearby — he shares a few clever tricks that make your greens grow faster and cleaner!)

Pingback: Vertical Gardening: 9 Best Vegetables That Grow Upwards
Pingback: Zero-Waste Edible Gardening: Regrow Kitchen Scraps